Trojan Training Videos -
Student Planning for Students
Overview of Student Planning
Read Your Program Evaluation and Requirements
Register and Drop Planned Courses
Find and Select Courses in the Course Catalog
My class is in the Other Courses Section
Advising Tab - Contact Advisor or Request a Review
Drop Registered Course or Remove from Plan
Register for Planned Courses
Student Planning
You can access Student Planning by going to my.troy.edu's Self Service tab or by clicking here
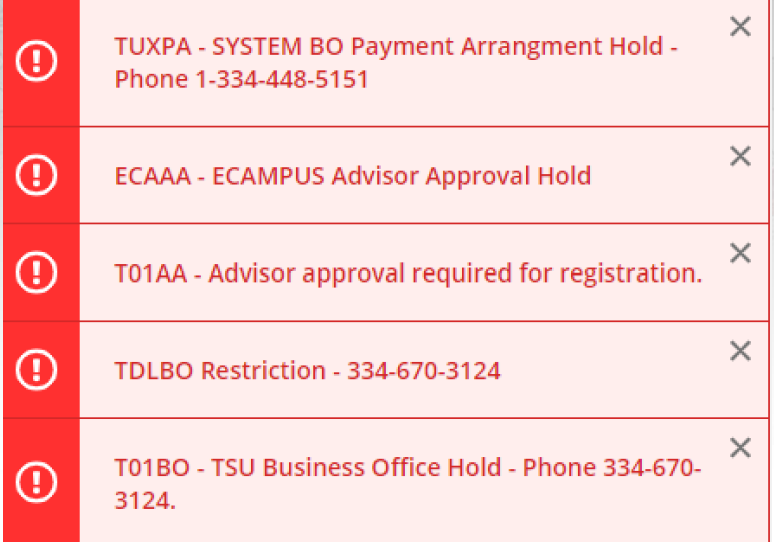
Notifications are located in the upper right hand corner.If you do not have any notifications displayed, you do not have a hold on your account.
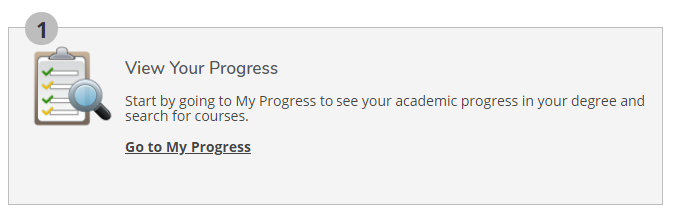
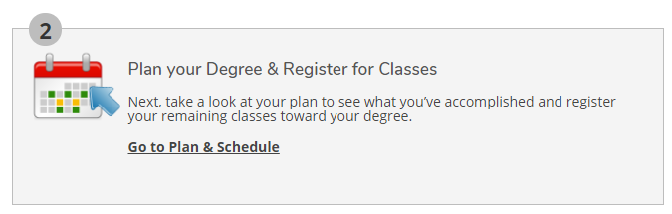
The Steps to Getting Started pages gives you two navigating options, Go to My Progress and Go to Plan & Schedule.
My Progress
My Progress tab shows:
- Major and Minor
- Cumulative and institutional GPAs
- Catalog year
- Color coded progress bars
- Degree Requirements
You can play “What if …” to look at different degree programs by clicking on the the View a New Program tab and choosing a program from the box. This does not change your major.
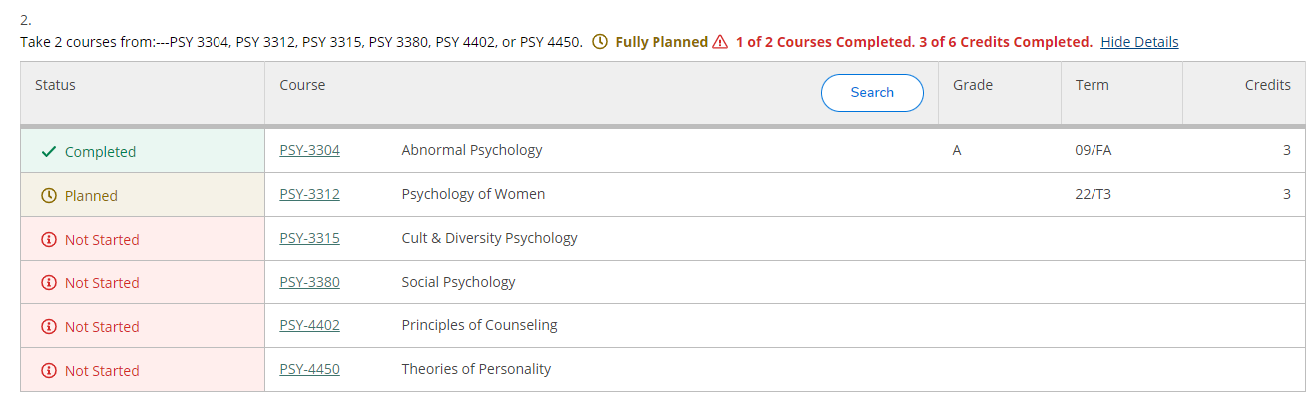
Requirements
This section shows you what courses are required for your academic program. It uses a color coding system to denote course status.
Green - Completed or In Progress
Yellow - Planned or Fully Planned
Red - Not Started
Blue - Fulfilled
Major Requirements
- This section shows what courses are required for your major.
- The search feature allows you to search for courses within each section.
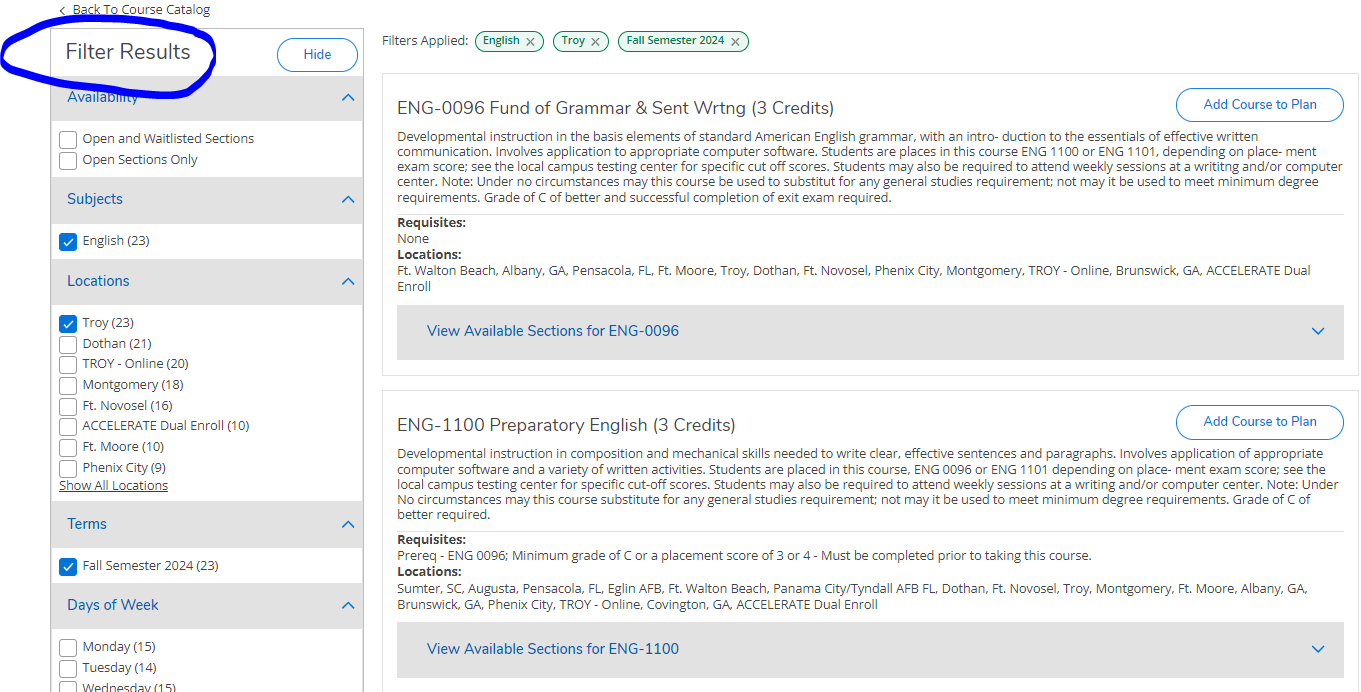
Course Catalog
The search feature on the My Progress tab directs you to the Course Catalog. You can view all sections offered for each course, filter the results, as well as add them to the course plan.
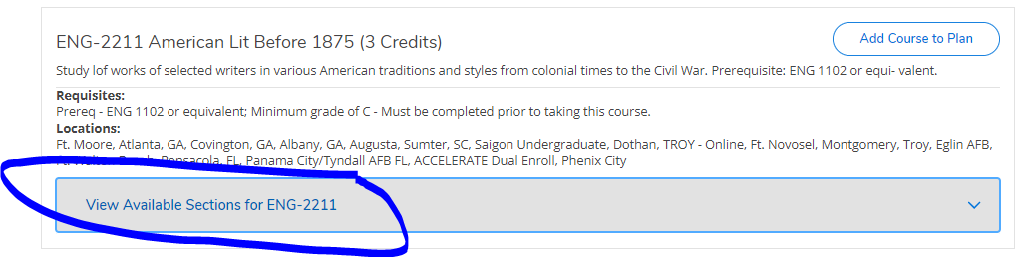
Once you have found the specific course needed, you can view available sections for the course, and add the desired section to your schedule.
Registration
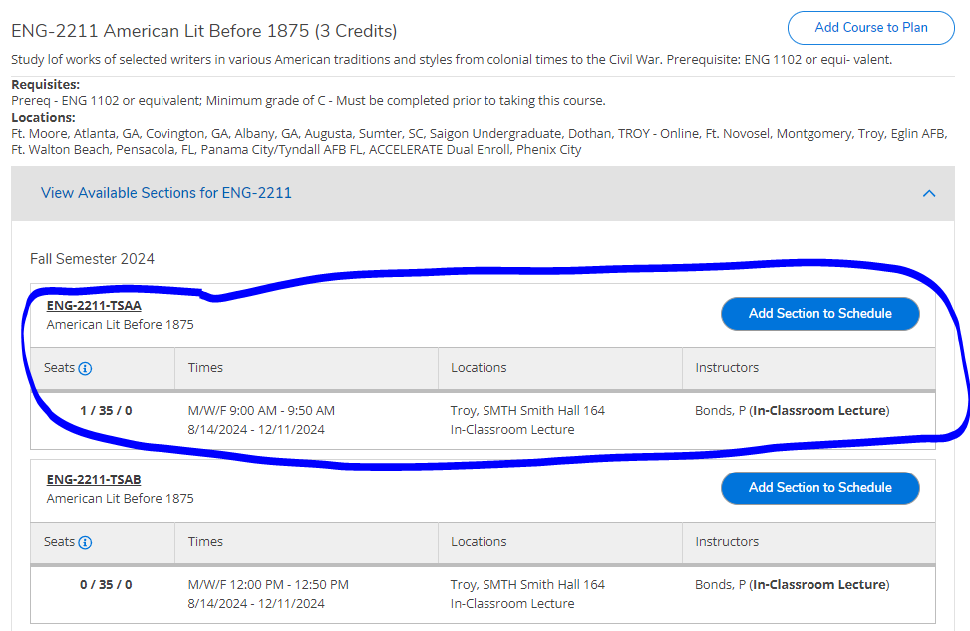
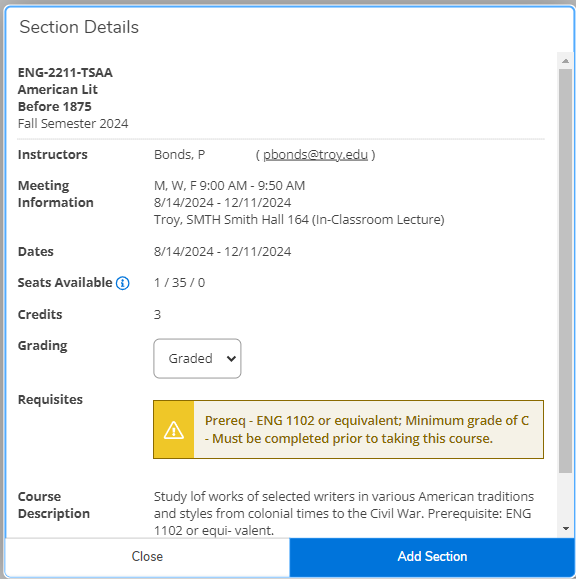
- If you wish to add a course section to your schedule and it is within the registration period for that semester/term, click Add Section to Schedule.
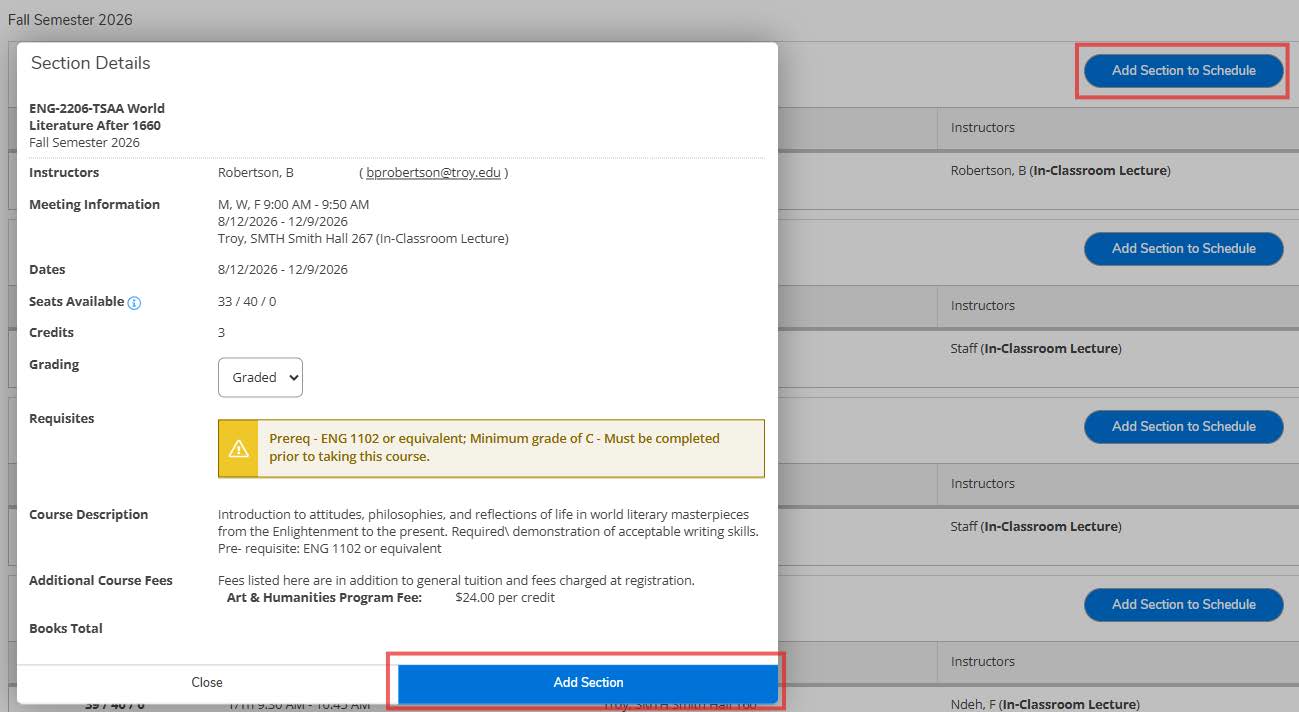
- It provides detailed information about the course. If you approve of the course, click Add Section.
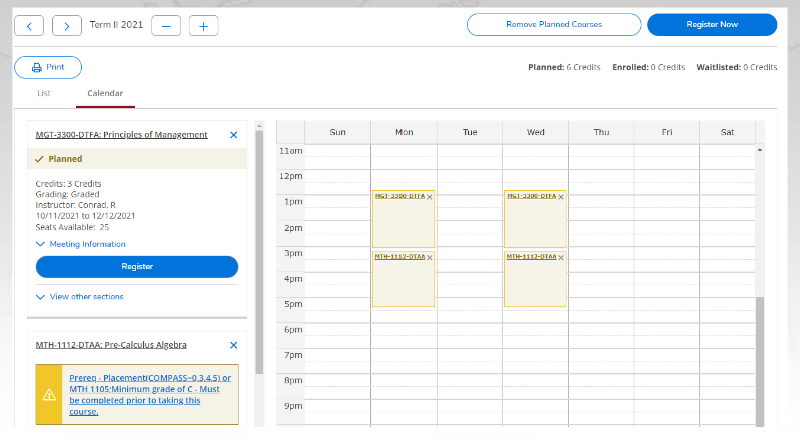
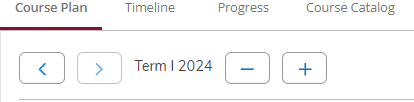
To see this course on your Planned Schedule, click on Plan & Schedule. Use the arrows to toggle to the correct semester/term.
Note: This course is only Planned. You are not yet fully registered for this course and section.
Academic Division Briefings 2013 University Registrar Registration To register for planned course/s, you will click the Register Now button in the upper right hand corner.
Once you are fully registered for a course or courses, it/they will appear green and will say Registered.
Advising
Once you have created a planned schedule, click on the Advising tab. You can compose a note to your advisor and ask them to review the courses on your plan.
Once you compose and save the note, click Request Review in the upper right corner. This will alert your advisor you have requested they review your account. Keep in mind, anything posted here can be seen by all assigned advisors.
Drop Course/s
If you wish to drop a course or courses from your schedule and it is still within the allotted schedule change period, click Drop.
Another screen will appear. Click on the course/s you wish you drop from your schedule. Select the course or courses you wish to drop, and then click update.
Once you have been dropped from the course, it will appear in yellow as if it were a planned course.
If you wish to remove it from your plan, click the X on the planned course box.
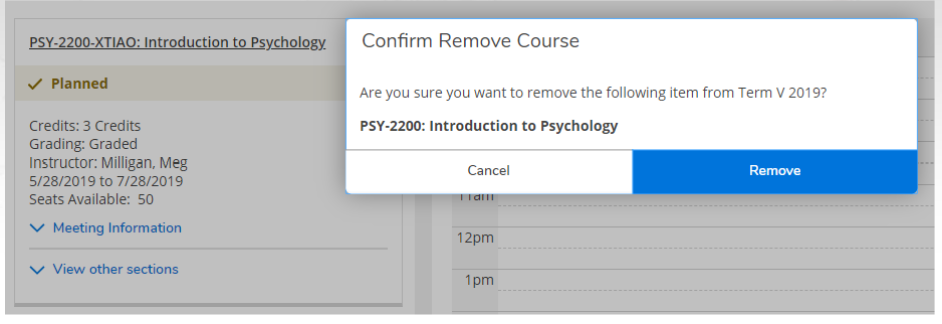
The above screen will appear and ask you if you wish to remove the course. Click Remove.
However, you may not drop all of your classes through this process. If you wish to Withdraw from the semester/term, please submit a Withdrawal Form.
If you are unsure how to access the form, please contact your advisor or the Registrar’s office. If it is after normal business hours, please leave a message and/or send an email to your advisor stating you wish to withdraw from the semester/term.
My Degree Maps
My Degree Maps can be found here. My Degree Map works in tandem with Student Planning. They show course scheduling outlines for each degree program and are intended to be used by students as guidelines for course scheduling
- Go to my.troy.edu
- Select the "Self-Service" tile
- Click on Student Planning
- Check the notifications tab in the upper right-hand corner to make sure you have no holds on your account. If you have any holds, you will not be able to register until they have been cleared.
- Search for courses by utilizing the “Search for courses…” box in the upper right corner of the screen. You will need to search by subject and number (ex. MTH 1112)
- Find a section by using the drop-down arrow on the grey bar. ** Note: You can filter the information by location, term/semester, etc. by using the panel on the left side of the screen.
- Click Add Section to Schedule. A pop-up box will appear. Make sure you meet the requisites for the course, and then select Add Section.
- Repeat steps 5 through 7 for each course for which you would like to register. You can also add courses to your plan by clicking directly on the course number from the My Progress page. This will direct you to the specific course in the course catalog.
- Once all courses are planned, click on Student Planning on the top bar and click Plan &p; Schedule. Use the arrows to navigate to the correct term or semester.
- Once you have verified all courses and sections are correct, and there are no holds on your account, click Register Now in the upper right corner of the screen.
- Click the OK button to accept the terms.
- All courses should turn GREEN. If any remain yellow, please contact your advisor or the Registrar’s Office to help you determine why the course/s did not process.
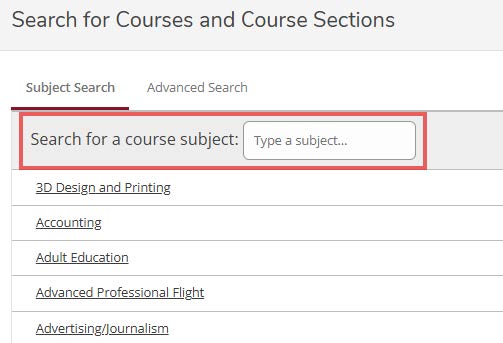
- To review course offerings, select Course Catalog from the Self-Service welcome page.
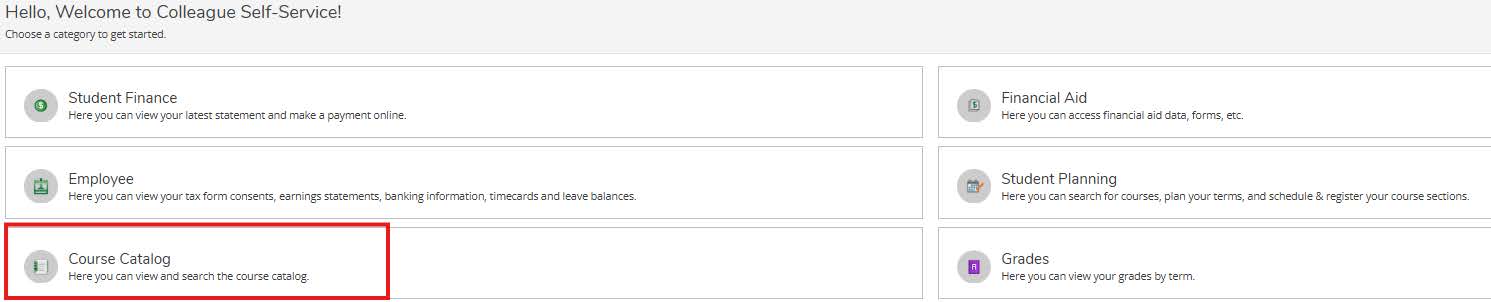
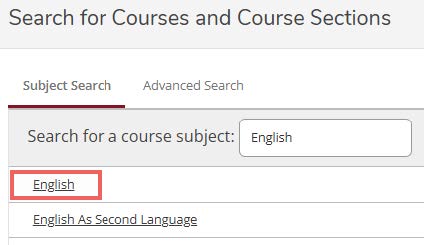
- Once on the Course Catalog tab, search by Subject by either typing the subject in the search box or scrolling down to select a subject from the list.
- Select the Subject by clicking on the name.
- Use the navigation panel on the left side of the screen to filter the results by location, term/semester, academic level, etc.
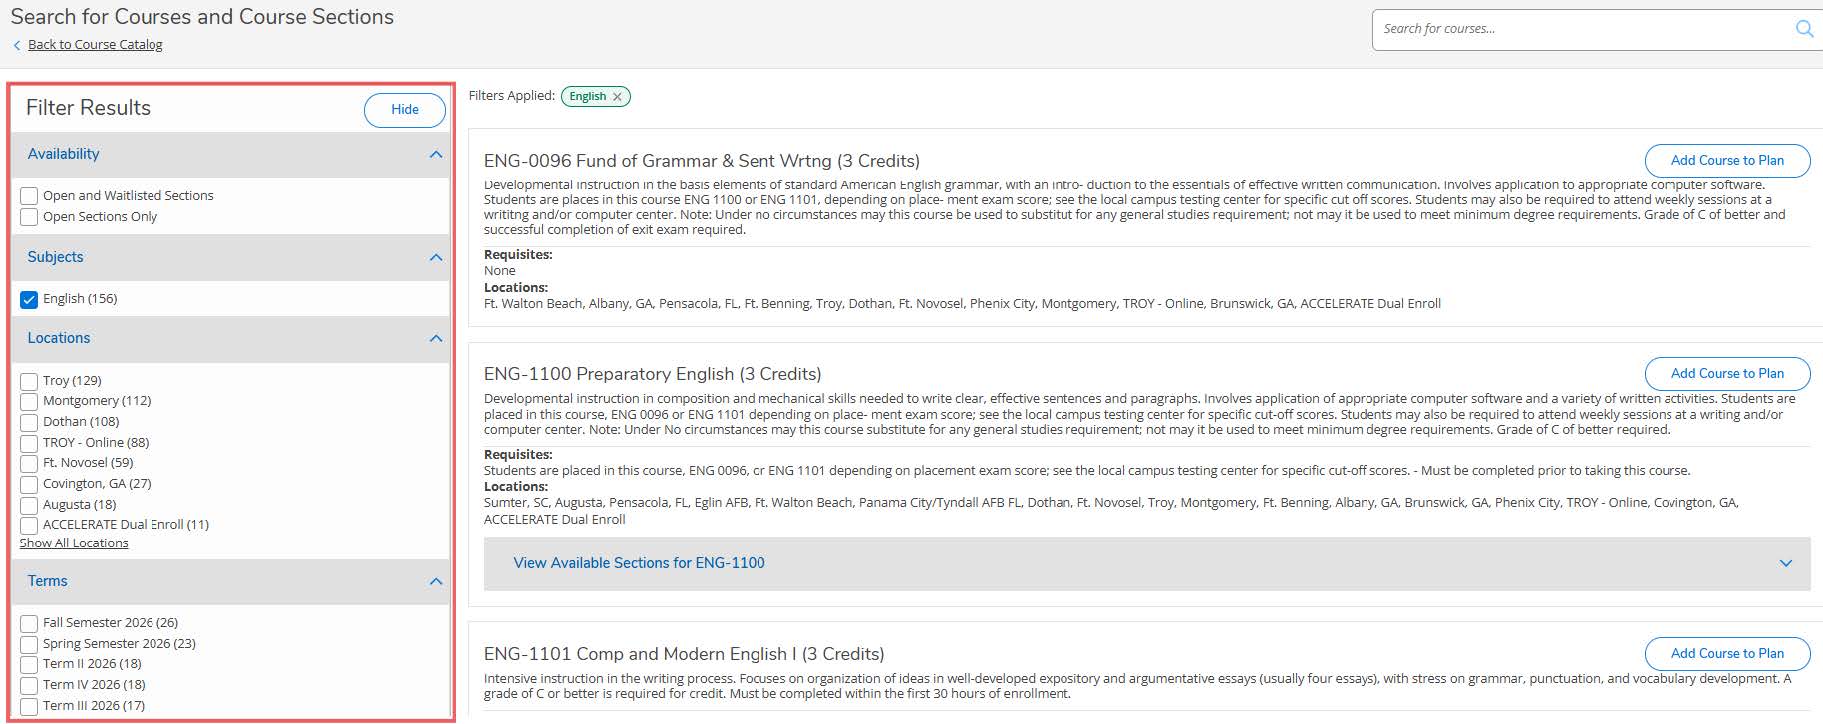
- After narrowing the selection, scroll down to find the course needed. Select “View Available Sections for…” to view the sections available
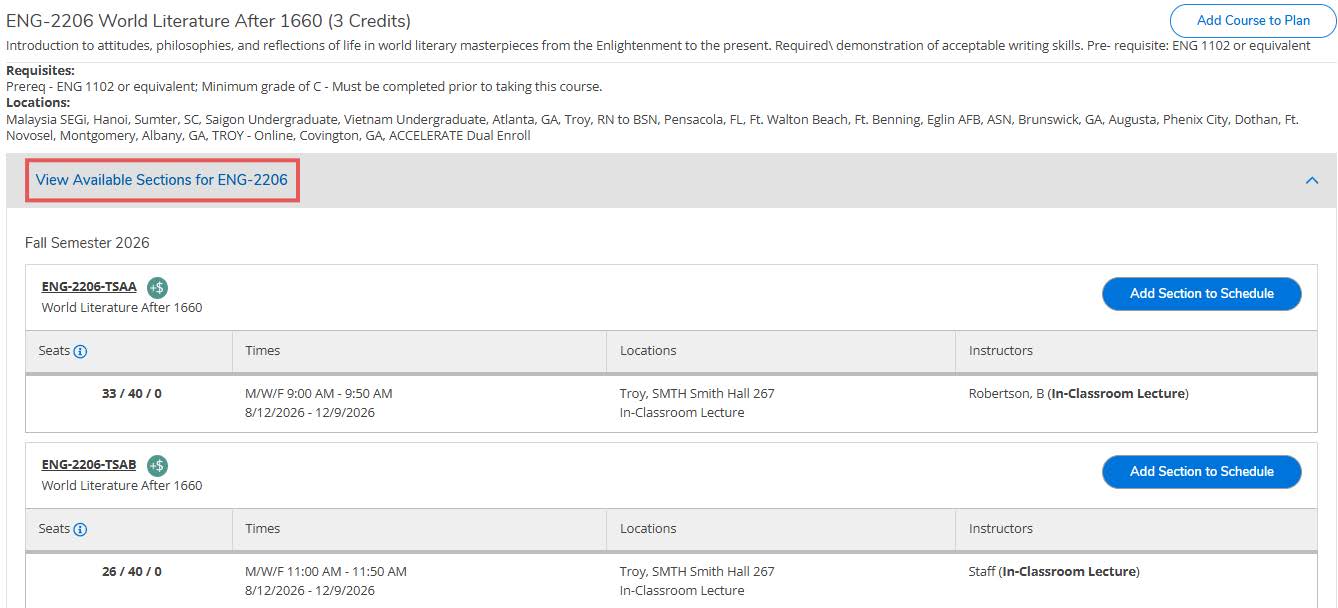
- View the sections for the course offering information, such as the Instructor, Location, Time, Day, and number of seats available in the course.
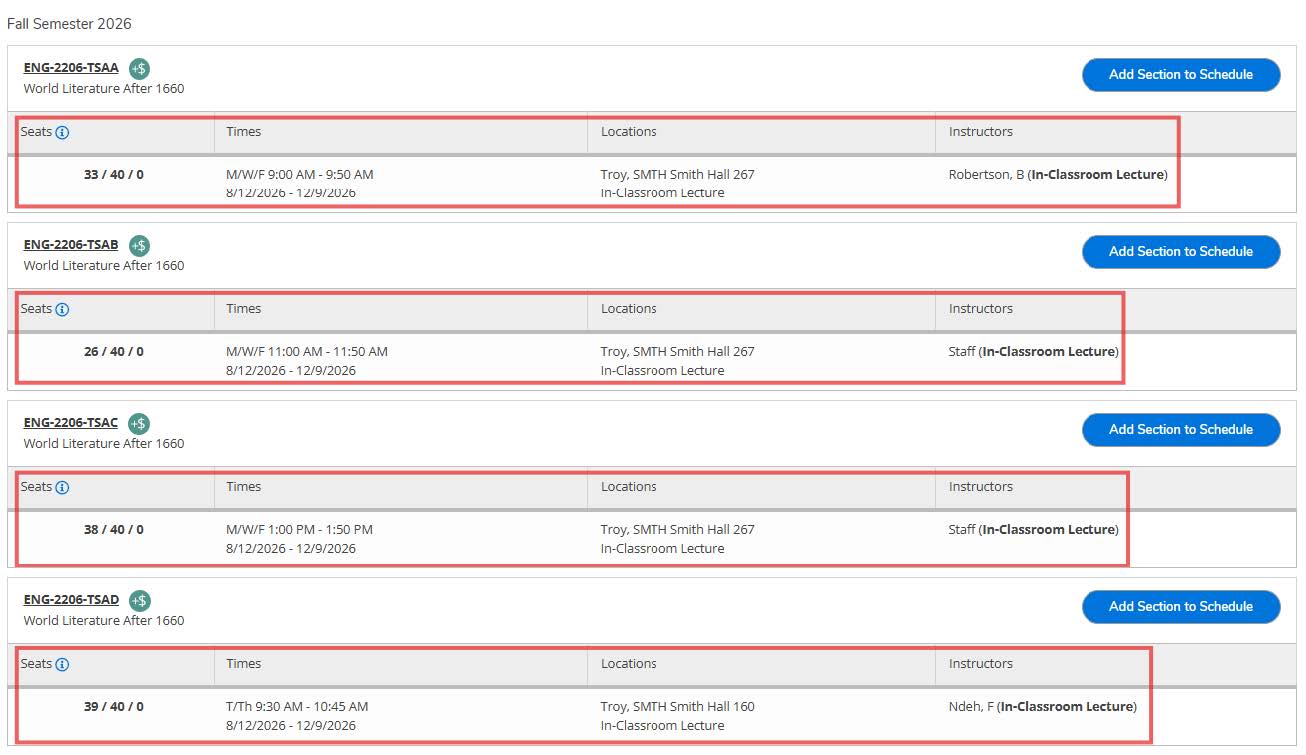
- Select “Add Section to Schedule” to view even more information for the particular section. Click “Add Section.” The course is now planned, but not registered.
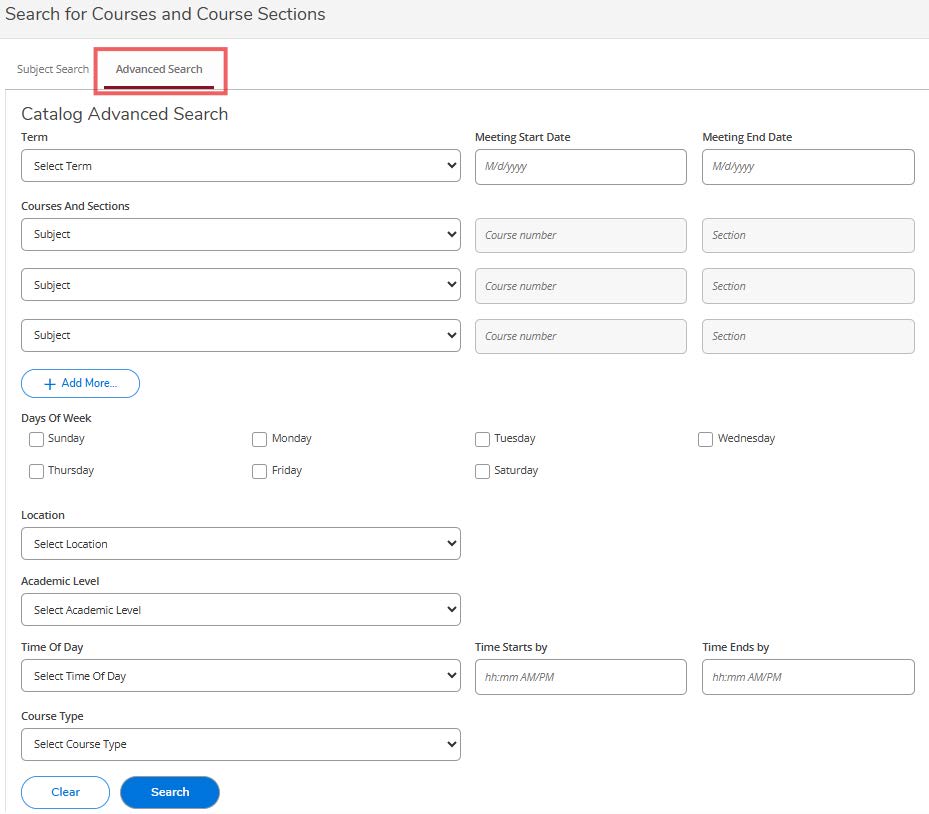
- More advanced search features are offered via the “Advanced Search” tab on the Course Catalog page.
- Go to my.troy.edu
- Select the Self-Service tile
- Select Student Planning

- If you have any holds on your account, they will appear in the upper-right corner of the screen. Holds will need to be removed prior to registration.
- To view the courses needed for your program, select Go to My Progress.
- You will see your required courses on this page. Green indicates courses you have already taken, yellow indicates courses that are planned, and red indicates courses you have not yet taken.
- Click directly on a course you would like to plan on your schedule. It will take you to the course catalog.You can also use the Search for courses… box at the top of the screen if you know the course for which you would like to register.

- Use the Filter Results section on the left side of the screen to select the semester or term for which you would like to take the course.
- Once you have selected a term or semester, click View Available Sections. You will then see the course information (i.e. time/day, instructor, seats available).
- If this is a course you would like to select, click Add Section to Schedule.
- Verify you meet the requisites and then click Add Section.
- Select Academics and then Student Planning to return to the Home screen.

- Go to Plan & Schedule
- Navigate to the term or semester for which you are attempting to register by using the arrows.
- The course will appear yellow and say Planned. If you are registering for a course that requires a corequisite (i.e. science and lab), you must select Register Now at the top of the screen. This will allow both courses to register at the same time. If you are not taking corequisite courses, you may select Register under each course.
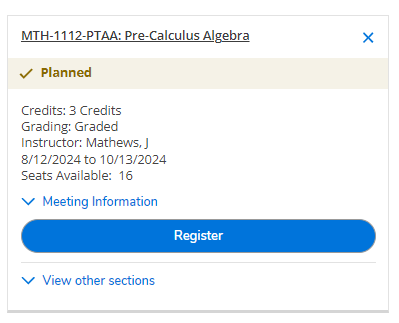
- The course should turn green and say Registered.

- Go to my.troy.edu
- Select the Self-Service tile
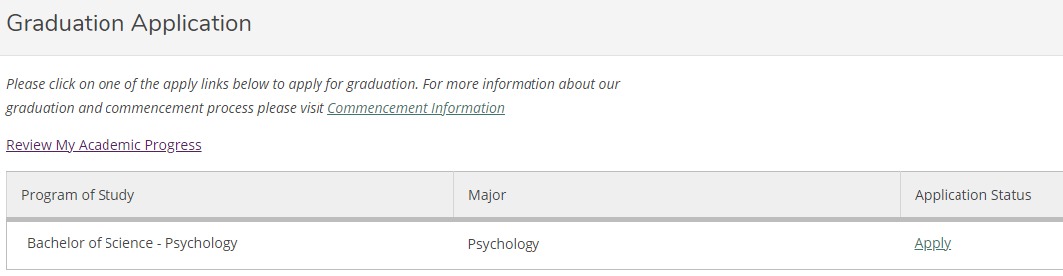
- Select Graduation Overview

- Select “Apply”
- Enter the information requested on the form.
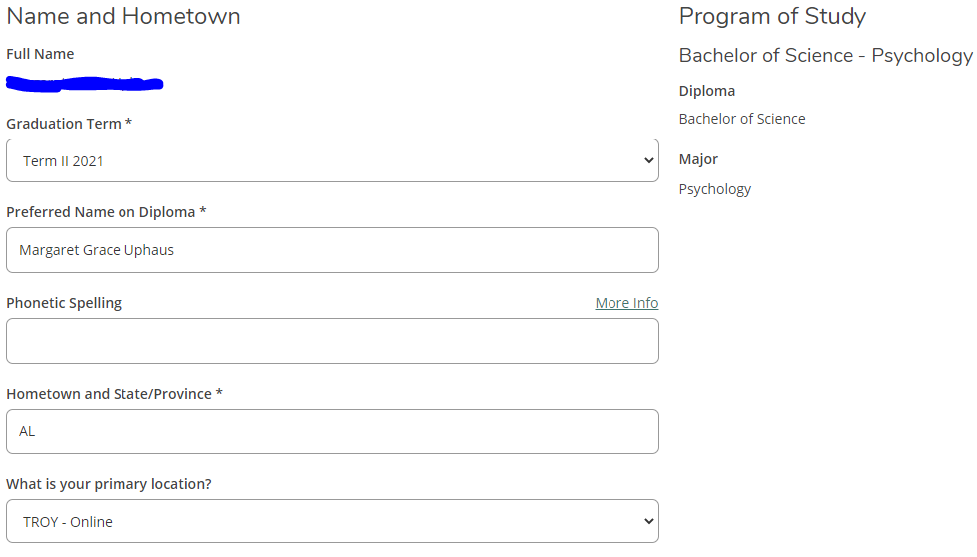
- Make sure to indicate whether or not you plan to walk in a ceremony and the location at which you wish to walk. You can order your Cap and Gown by selecting the link on the screen.

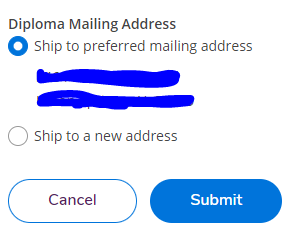
- Enter the mailing address for your diploma and select Submit.
- For further questions, please email graduationcenter@troy.edu
- Questions? |
- Submit Feedback |
- Student Complaints |
- Student Disability Services
- Privacy Statement |
- Read Our Disclaimer |
- Accreditation Statement
- Troy, Alabama 36082 |
- 1-800-414-5756 |
- © 2007-2026 Troy University